
How to Create Your Wedding Invitation Suite (2026 Guide)
Everything you need to include — from invitations to on-the-day stationery.
Planning your wedding invitations should feel exciting — but we know it can sometimes feel a little overwhelming when you’re trying to work out exactly what you need and how to build your order.
At Pure Invitation, our website allows you to create your full wedding invitation suite step by step — choosing your design, card colours and finishing touches all in one place.
This guide will walk you through:
- What a wedding invitation suite includes
- How to build your suite using our website
- And how your invitations connect to your on-the-day stationery and signage
What Is a Wedding Invitation Suite?
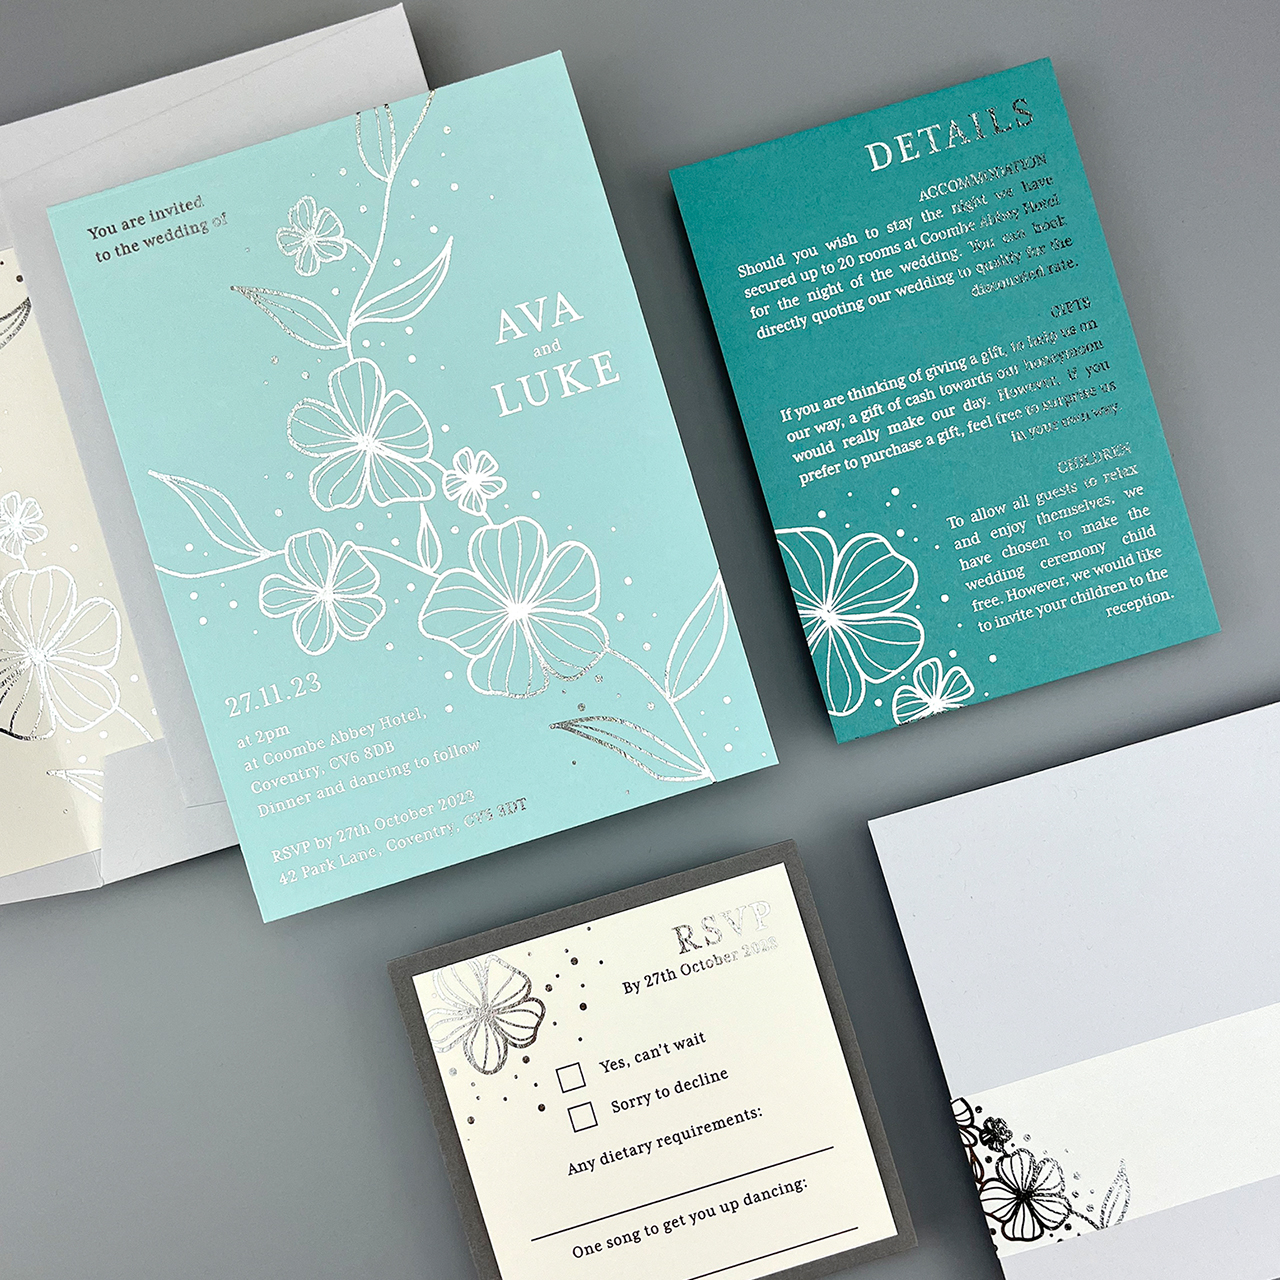
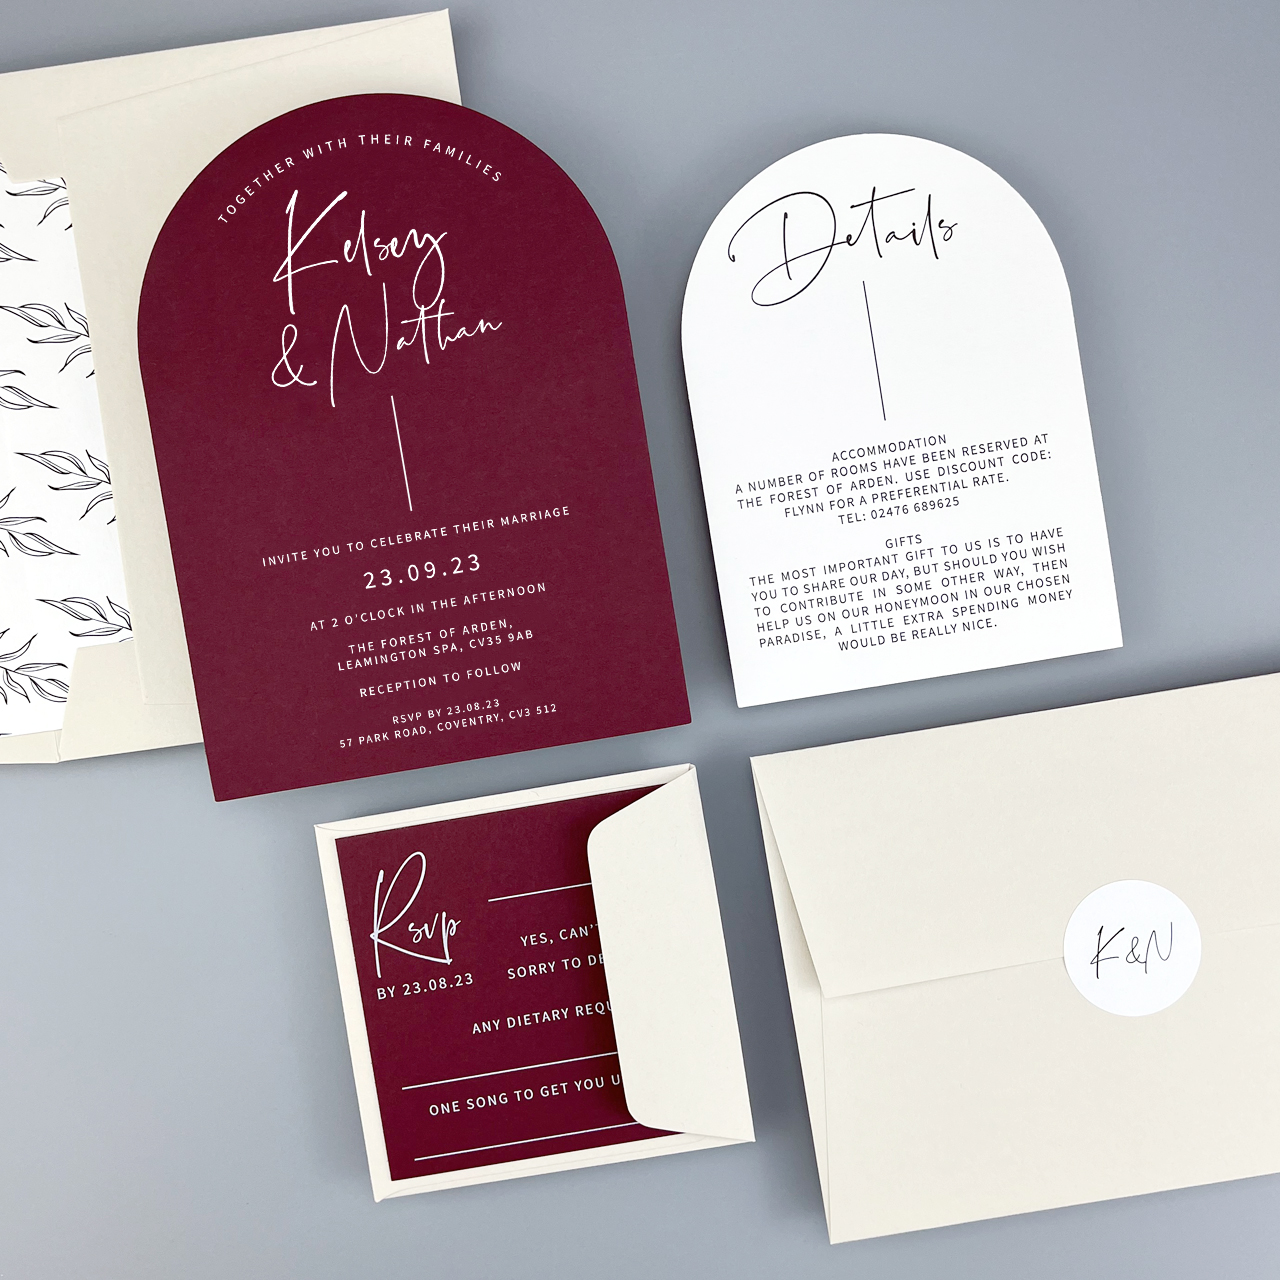
A wedding invitation suite is simply the full set of pieces that make up your invitation.
This usually includes:
- Your main invitation
- RSVP card (or QR code option)
- Details / information card
- Envelopes and finishing touches
Some couples keep things simple, while others add extra details — but we guide you through everything step by step.

How to Create Your Invitation Suite on Our Website
Our ordering process is designed to be simple and flexible — you can build your suite in stages and customise everything to suit your wedding.
Here’s how it works:
Step 1: Choose Your Design
Start by browsing our wedding invitation collections and choosing a design you love.
This design will carry through your entire suite — including:
- Main invitation card
- RSVP card (if required)
- Details card (if required)
💡 Tip: Choose a design that complements your wedding style — this helps everything feel cohesive later on. Most of our designs are available to order in your choice of card colours so can be tailored to suit your colour theme.
Step 2: Select Your Colours & Finishes
Once you’ve chosen your design, click 'Start designing today' and follow the steps to customise:
- Card colour
- Print colour (including foil options where available)
- Envelope colour
This is where your invitations really start to feel personal to your wedding.
TOP TIP!
Use your RSVP card to allow your guests to confirm their menu choices – print the menu options on the reverse of the card and ask your guests to initial their selections. This makes it so easy for your guests to confirm their attendance and their menu choices super efficiently! Find out more here.
More and more couples are using QR codes for their guests to use to RSVP. It's modern and an efficient way to do it but if you prefer the more traditional postal responses lots of couples still use this way.
Find out more about QR codes here.
Add Finishing Touches (Optional)
You can also enhance your suite with finishing details such as:
- Vellum jackets
- Belly bands
- Wax seals
- Envelope liners
These are completely optional — but they can elevate the overall look of your invitations.
The final step in the process is choosing whether you want to assemble your invitation suites yourself, or if you want our expert team to do it for you. If you choose to assemble yourself at home you’ll receive everything you need in one box – you simply have to unwrap every element and then assemble.

Step 3: Add Your Invitation Suite to Basket
Once you have completed the steps and are happy with your choices and the price, add the invitation suite to your basket.
On the summary page you will be able to view:
- Your chosen design
- Your chosen card colour(s) and finishes
- Any additional elements you have selected
Update the invitation quantity to how many you require and the total cost will be clearly displayed.


Step 6: Submit Your Order & Receive Your Proof
Once your order is placed you will receive an order confirmation email from us, in which we explain how to send us your wording / personalisation. Once we have received your wording our design team will create your personalised PDF artwork for you to review, as well as a digital colour mock up (if applicable).
If you want to make any changes after seeing your proof(s) simply let us know by email reply and the team will update and resend.
Nothing is printed until you are completely happy.


What Do You Actually Need?
If you’re unsure what to choose, this is the most common combination:
✔ Main invitation
✔ RSVP card or QR code
✔ Details card
That’s it — everything else is optional.
Many couples now keep things simple and use a wedding website to share additional information.
How Your Invitation Suite Connects to Your Wedding Day
Once your invitations are sent, you can return to order your on-the-day stationery and signage to match your design.
This includes:
Because everything is part of the same collection, your wedding styling will feel consistent from start to finish.

We also offer on the day styling bundles to make organising your on the day decor stress free as well as super stylish - plus you save ££'s!


Click here to browse all the bundles.
Ordering Your On-the-Day Stationery & Signage
We recommend ordering your on-the-day items around 4–6 weeks before your wedding, once your final guest numbers are confirmed.
By this stage, you can:
- Match your invitations exactly
- Finalise guest names and table plans
- Create a fully coordinated look
When Should You Order Your Invitations?
As a guide:
- Save the dates: 6–12 months before
- Invitations: 12–16 weeks before
- On-the-day stationery: 4–6 weeks before
- Signage: 4-6 weeks before
Still Not Sure? We’re Here to Help
If you’re unsure what to order or how to build your invitation suite, you’re not alone — and we’re always happy to help.
You can:
👉 Order a curated sample pack
👉 Contact us for advice
👉 Or start building your suite and we’ll guide you through the rest
Final Thoughts
Creating your wedding invitation suite doesn’t need to be complicated.
By following the steps above, you can build a suite that feels beautifully coordinated, easy to manage, and perfectly tailored to your wedding. Click here to start your dream invitation journey.